

This is a
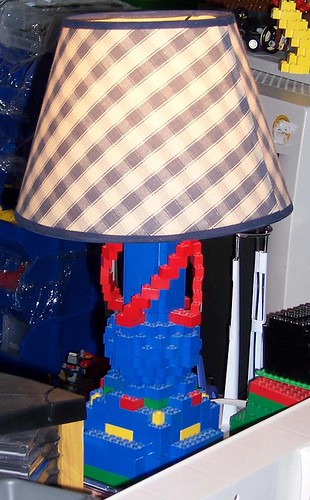
I have built and re-built this a few times now, and I hope to post reasonably good instructions at some point in the future (sadly, the twisty red part isn't easy to toss into a CAD program to make instructions). You can get the gist of how this is constructed from the photos below. Sadly, none of these were taken with the intended clip-on shade, but I don't think it looks that bad with this lampshade either.
Personally, I don't think this should count as "cheating" - the cord, bulb, and shade are the only non-LEGO parts. This is otherwise completely purist - something that you can't do if you just build around a commercially available build-your-own-lamp kit. Socket cords are available at most hardware stores should you want to try this yourself.
On to the "detail" shots!
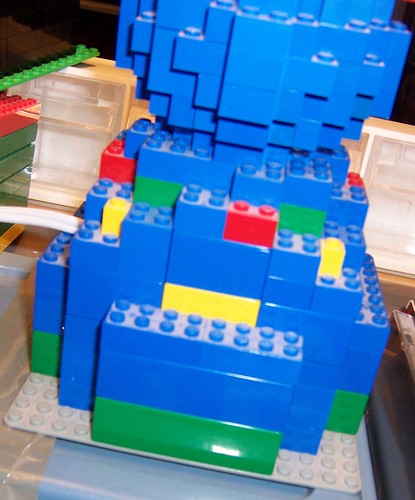
Here is the base of the lamp. Note how DUPLO bricks were used to create a sturdy base without using that many parts. A gap the size of one 1x1 LEGO brick was appropriate to get the cord out safely.
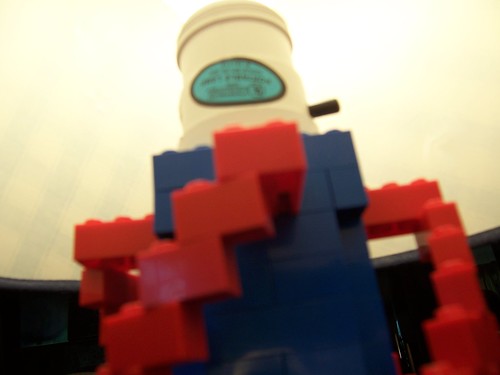
This is the top of the lamp. The cord was snaked through the entire construction, but the socket itself requires some extra support - which this little ledge you can see provides.

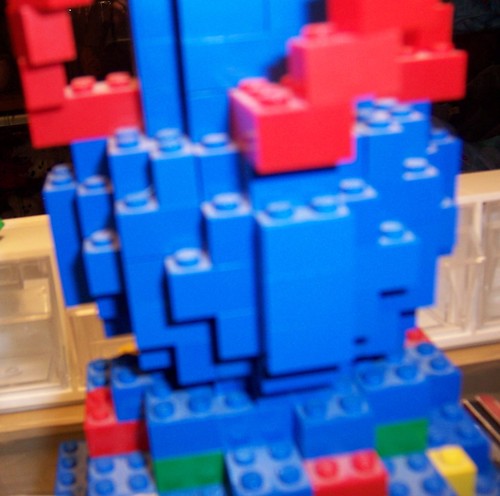
Here's the top section. When I built this, I was into showing off techniques. I don't think the design suffered for it. This is another fairly straightforward trick - just angle the bricks a little bit. You do have to make sure you get the right height in there - believe it or not, you can often get parts to "stick" in there when the connection is not really sturdy enough to stay. I put 8 bricks in between the two red 2x4s, but if I wanted to squeeze 9 or 10 in there and let things twist, I could have gotten away with it.
Look! It's my ball! Complete building instructions are available to download. This, by the way, is one of the reasons I decided to make my ball in sections that allow the "core" to be popped out.
That about sums it up. Any questions?
No comments:
Post a Comment